
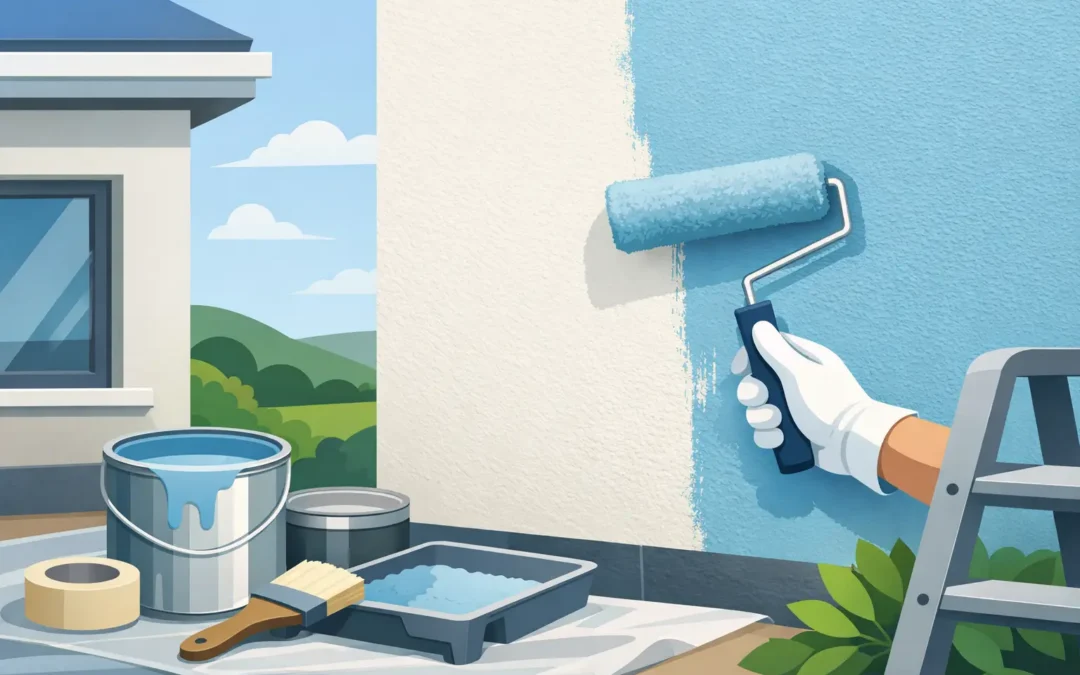
A rendered wall can look tired long before the render itself has failed. Fading, traffic splash marks, algae and small repairs can all spoil an otherwise sound exterior. Knowing how to paint rendered walls properly means more than choosing a colour and getting a roller out. The condition of the render, the paint type and the weather on application day all affect whether the finish lasts.
For many homes across Greater Manchester, Salford, Bolton and Bury, a well-prepared paint finish is an effective way to freshen an existing rendered façade. However, paint will not cure loose render, persistent damp or structural cracking. Deal with those issues first, then painting becomes a worthwhile improvement rather than a short-lived cover-up.
Check whether the render is ready to paint
Start with a close inspection in dry daylight. Look for hollow-sounding areas, crumbling edges, flaking old paint, cracks and stains. Fine hairline cracks may be cosmetic, but wider or recurring cracks can indicate movement or failed render beneath. They need to be assessed and repaired before any paint is applied.
Run your hand across the surface too. If it leaves a dusty, chalky residue, the wall is powdering. This is common on weathered render and means the new coating may struggle to bond without thorough cleaning and a suitable stabilising primer.
Moisture needs particular care. Green algae, black spotting and damp patches are not merely cosmetic. They can point to overflowing gutters, leaking downpipes, poor ground drainage or cracks allowing water behind the render. Painting over them traps the problem from view and often leads to blistering paint later.
Fresh render is a different case. Cement-based render generally needs adequate curing time before it is painted, often around four to six weeks, though the exact period depends on the product, weather and manufacturer’s instructions. Painting too early can lock moisture into the wall and cause uneven colour or failure. Coloured render systems such as monocouche or K-Rend should not automatically be treated like plain sand and cement render either. Some can be cleaned or repaired rather than painted, and the wrong coating may affect their breathability and appearance.
How to paint rendered walls: preparation comes first
The best paint will only perform as well as the surface below it. Preparation is where a clean, durable result is won or lost.
First, protect paths, windows, planting and brickwork with dust sheets and masking. Remove loose dirt with a stiff brush. If the wall has algae or mould, apply an appropriate fungicidal wash and allow it to work as directed. Rinse thoroughly afterwards. Do not rely on a quick splash of water, as cleaning residue can interfere with adhesion.
A pressure washer can be useful on solid, sound render, but it needs a careful hand. Too much pressure, or holding the lance close to the surface, can damage softer render, force water into cracks and leave a patchy finish. A low-pressure rinse is usually enough after treatment. Leave the wall to dry fully before moving on. In North West weather, that may mean waiting longer than expected.
Scrape off any peeling paint, then feather the remaining edges with abrasive paper so they do not show through the new coats. Small stable cracks can be filled using a flexible exterior masonry filler. Once dry, sand them lightly to blend with the surrounding texture. Deep cracks, blown areas and render that has detached from the wall call for proper repair, not filler alone.
If the surface is very porous or chalky, apply a masonry stabilising solution or primer recommended for your chosen paint system. This helps create an even base and prevents the first coat disappearing into the render unevenly. Do not use a general interior primer outdoors – it is not designed for rain, frost and vapour movement through an external wall.
Choose breathable exterior masonry paint
For most rendered exteriors, a high-quality breathable masonry paint is the sensible choice. Breathability allows water vapour within the wall to escape while the paint surface sheds rain. That balance matters in the British climate, particularly on walls exposed to driving rain.
The cheapest paint can be a false economy. It may need extra coats, fade sooner or form a less flexible film that cracks as the wall moves through seasonal changes. Choose a product specifically made for exterior render and check that it is compatible with the existing finish. If you do not know what has been used before, a small test area is a practical safeguard.
Matt masonry paint is popular because it gives an even, traditional finish and disguises minor surface variation. It is not the only option, though. Some modern coatings provide improved dirt resistance or a subtle sheen. The right choice depends on the age and texture of the render, how exposed the property is, and the look you want to achieve.
Colour also deserves thought. Very dark shades absorb more heat than pale colours. On south-facing walls, this can increase thermal movement and place extra stress on older render and paint films. Light and mid-tone shades are often more forgiving, while still making a major difference to kerb appeal.
Pick a dry spell, not just a dry morning
Painting render outdoors is weather-dependent. Aim for a dry, mild day with no rain forecast while the paint is being applied and during its initial drying time. Avoid painting in direct strong sun, high winds, frost, fog or when the wall is still cold and damp from overnight rain.
Temperature guidance varies between products, but many masonry paints need conditions above around 10°C. Always check the tin. A wall may feel dry at midday yet become damp again in the evening, so allow enough time for each coat to dry properly.
This is one reason exterior painting can take longer than homeowners expect. Waiting for the right conditions protects the quality of the finish. Rushing to beat an approaching shower rarely ends well.
Apply the paint evenly
Use a masonry brush to cut in around windows, doors, pipework and awkward edges. For larger areas, a medium-pile or long-pile roller helps work paint into the texture of the render. Very rough render may benefit from a brush for the first coat, followed by a roller to even out the finish.
Stir the paint thoroughly before use and regularly during the job. Apply the first coat steadily, working from the top of the wall downwards so drips can be dealt with as you go. Keep a wet edge by completing manageable sections rather than stopping halfway across an open wall. This reduces visible lap marks, especially in sunny conditions.
Do not overload the roller. Thick paint can sag, collect in hollows and dry unevenly. Two thinner coats usually produce better coverage and longer-lasting protection than one heavy coat. Allow the first coat to dry for the full stated time before applying the second. If the original render is highly porous, a primer plus two finish coats may be needed.
Step back periodically to check for missed patches, particularly beneath window sills, around rainwater goods and at the base of the wall. These are the areas where dirt and water often cause early deterioration, so full coverage matters.
Avoid the mistakes that shorten paint life
Most failed paintwork comes back to one of a few avoidable problems. Painting damp render, using unsuitable non-breathable paint, skipping cleaning and applying coats in poor weather are the main culprits. Another common mistake is painting over a crack without finding out why it appeared.
Be cautious around ground level too. If soil, paving or gravel is bridged above the damp-proof course, the wall may be exposed to rising splashback and moisture. Paint alone cannot solve that. Correcting drainage, guttering and ground levels protects both the render and the new finish.
If your render is cracked, hollow, heavily stained or repeatedly peeling, it is often better value to repair or renew the surface before decorating. A specialist can advise whether local patch repairs, a new render finish or an insulated render system is the appropriate long-term route. At DecoRenders, this assessment is approached from the condition of the building outward, rather than treating paint as a fix for every exterior problem.
A freshly painted rendered wall should look clean and even, but its real value is in the preparation beneath it. Give the wall time to dry, use a paint system suited to render, and address faults before they become hidden. That is how a colour change becomes a finish that continues to protect and improve the property for years.
Recent Comments