
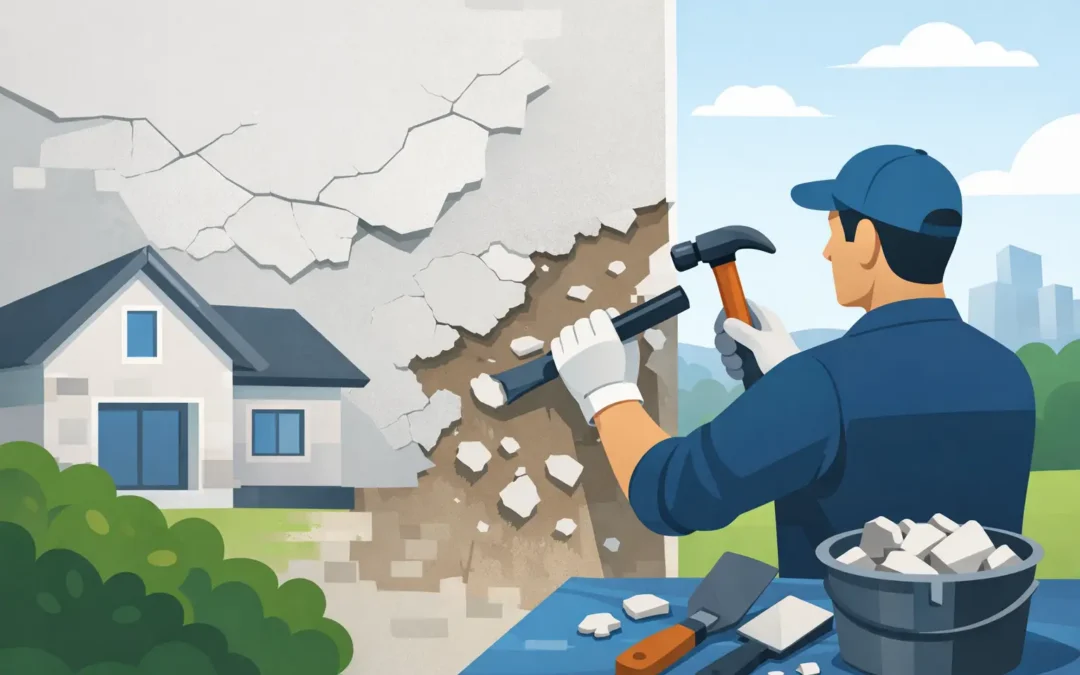
A hollow sound when you tap an outside wall is usually the first warning sign. Render may still look sound from a distance, but if it has lost its bond with the brickwork or blockwork behind it, it can crack, bulge and eventually fall away. Knowing how to remove blown render properly matters because a rushed repair can damage the wall beneath or simply leave the same problem waiting to return.
Removing loose render is often manageable on a small, low-level area. The difficult part is establishing why it became blown in the first place and making sure every unstable section is dealt with. Water ingress, movement, poor original preparation and unsuitable materials can all be responsible.
What blown render looks and sounds like
Blown render means the coating has detached, either from the background wall or between its own layers. It is no longer properly bonded, even if it has not yet visibly broken away.
Look for cracking, staining, a raised or bowed appearance, crumbly edges, and patches that sound hollow when lightly tapped with the handle of a tool. A solid area gives a firm, dull sound. A detached section tends to sound noticeably drummy or empty.
Do not assume the visible crack marks the full extent of the problem. The failed area can spread well beyond it, particularly where rainwater has been getting behind the finish. Around window openings, chimney breasts, parapets, downpipes and the base of walls are all common places for defects to begin.
Check the cause before you start removing render
The most important part of the job happens before a chisel touches the wall. If a leak, faulty detail or movement is still present, new render will be at risk no matter how carefully it is applied.
Check gutters, downpipes and roof verges for overflowing or leaking water. Look at seals around windows and doors, as failed mastic or poorly finished reveals can let water track behind a rendered surface. If the affected wall is close to ground level, check whether paths, soil or paving have bridged the damp-proof course.
Cracks also need a sensible assessment. Fine surface crazing may be limited to the finish coat, while stepped cracks through brick joints can point to structural movement. Repeated cracking around an extension joint, bay window or opening may need a more detailed inspection before repair work starts. Removing render will not cure a moving wall.
On older homes, the existing render may be lime-based and the wall may need a breathable replacement. Dense cement render applied to traditional brickwork can trap moisture, especially where the building has already struggled with damp. The right repair material depends on the wall construction, its condition and the finish you want to achieve.
How to remove blown render safely
Start with a realistic view of access. A small patch at ground-floor level is very different from loose render above a porch, on a gable end or around upper-storey windows. Falling render is heavy and sharp, so work from a stable platform and do not attempt high-level removal from a ladder.
Wear safety glasses, gloves, a suitable dust mask and sturdy footwear. Cover nearby windows, plants, paths and drains, and keep children, pets and vehicles out of the area. If material could fall onto a public pavement, the job needs proper protection and planning.
Begin at an already loose edge or a crack. Use a hammer and bolster chisel to gently break away the detached material, working in small sections. Hold the chisel at a shallow angle to avoid driving it into the brickwork or blockwork beneath. The aim is to remove unsound render, not to chop into the wall.
Tap around the exposed edge as you progress. Where the render still sounds hollow, continue carefully until you reach a firm, well-bonded boundary. It is tempting to stop where the repair will look neat, but leaving a thin band of blown render around the patch is a false economy. That edge is likely to crack and fail soon after the new material has been applied.
Avoid using an angle grinder to cut a deep, straight line through old render unless there is a clear reason and the correct dust control is in place. It can easily scar the background wall, create a weak repair edge and produce a large amount of silica dust. A clean edge is useful, but sound preparation is more valuable than a perfectly rectangular patch.
Once the loose material is off, brush the wall thoroughly. Remove dust, friable mortar, old paint residues and any salts that have formed on the surface. If brick joints are open or damaged, rake out only the failed mortar and repoint them with a compatible mix before rendering. The background needs to be stable, clean and reasonably even.
Do not ignore damaged masonry
Sometimes blown render has been hiding a more serious issue. Bricks may be spalled from frost damage, blockwork may be cracked, or previous repairs may have been made with unsuitable hard mortar. These defects should be repaired before a new render coat goes on.
Where moisture has affected timber lintels, wall plates or framing, stop and seek specialist advice. Rendering over a wall that is wet internally can conceal the symptom while allowing the underlying damage to worsen.
Preparing the wall for a lasting repair
A successful render repair relies on the background absorbing water evenly and providing a proper key. Very dry masonry may need lightly damping down before the base coat is applied. Conversely, a saturated wall should be allowed to dry and the source of water resolved first.
The repaired area should be built up in compatible layers rather than filled with one thick coat. On many traditional render repairs, this means a backing or scratch coat followed by a finishing coat. Modern coloured render systems have their own specified basecoats, reinforcing mesh, primers and top coats. Mixing products from different systems or skipping stages can affect adhesion, colour consistency and the manufacturer’s warranty.
Mesh reinforcement is particularly useful around repaired cracks, changes in background material and corners of window or door openings. It helps spread minor stresses through the coat, but it is not a substitute for correcting major movement or a failed lintel.
Getting the texture and colour right can be harder than rebuilding the patch itself. A new repair may initially look lighter or smoother than the existing wall. Weathering can reduce the difference over time, but not always. On a prominent front elevation, it may be better value to repair the underlying defects and apply a fresh finish across the full section of wall for a consistent result.
When professional removal is the better option
DIY removal is best limited to a genuinely small, accessible patch where the cause is obvious and the masonry is sound. A professional survey is sensible where render is failing over a large area, cracking repeatedly, showing signs of damp, or sitting above ground-floor level.
This is also true for insulated render systems. External wall insulation involves boards, fixings, mesh and specialist coatings working together. Removing only the surface finish without understanding the system can expose insulation to weather and make a later repair more complicated.
For homes and commercial properties in Greater Manchester, Salford, Bolton and Bury, prolonged wet weather can expose weaknesses in older façades quickly. A specialist renderer can identify whether the practical answer is a local patch repair, removal and re-rendering, or a more complete façade upgrade. The right recommendation should be based on the wall, not on selling the largest possible job.
Give the repair the conditions it needs
Fresh render needs protection while it cures. Avoid applying it in heavy rain, freezing conditions, strong direct sun or very windy weather. Rapid drying can lead to shrinkage cracks, while rain can wash or mark an uncured finish.
Keep the repaired area protected as directed by the material manufacturer and allow each coat to cure before applying the next. Do not paint over new render too early, particularly if the wall needs to release moisture. If a coloured render finish is being used, careful preparation and consistent application are what produce the clean, even appearance people expect.
A blown patch is never just an appearance issue. Remove it carefully, find the reason it failed and repair the wall with compatible materials. That approach takes more care at the start, but it gives your property the best chance of staying dry, sound and smart for years to come.
Recent Comments