
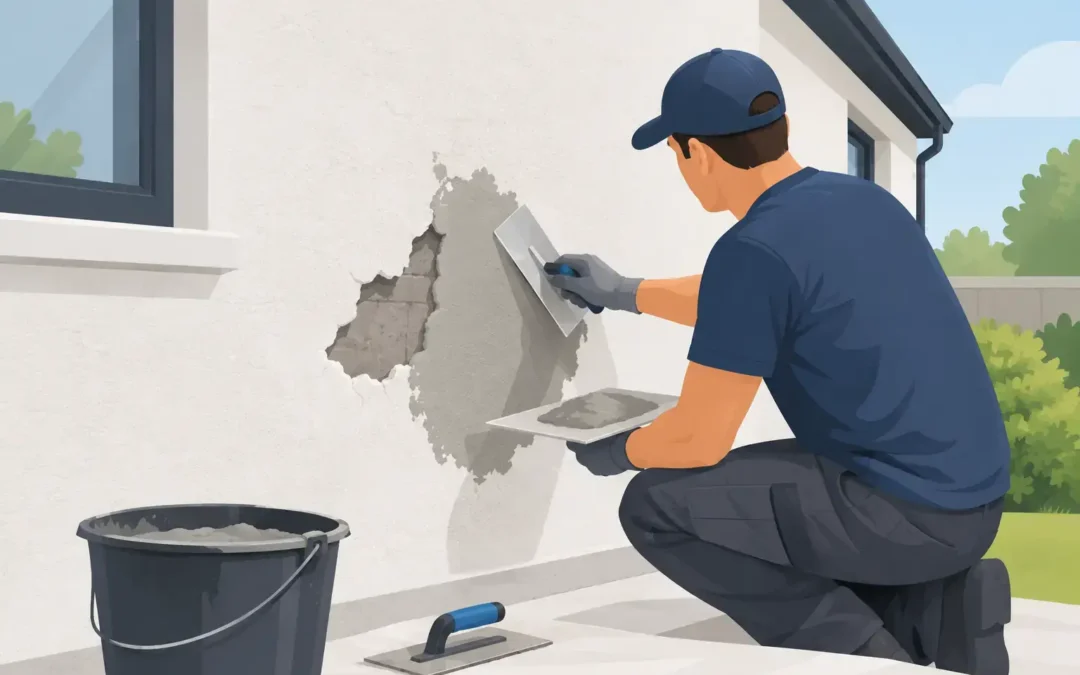
A hollow patch in external render can sound like a drum when tapped, even when the wall still looks reasonable from the pavement. Knowing how to repair render hollows properly matters because loose render rarely improves on its own. Left in place, it can crack, let in water and eventually break away, leaving a much larger area to put right.
The right repair depends on why the render has lost its bond. A small, isolated hollow on a sheltered wall may need a straightforward local repair. Widespread hollow areas, cracks around openings or signs of damp need closer investigation before any new material is applied. The aim is not simply to cover the problem, but to create a solid, compatible finish that protects the building again.
What are render hollows?
Render hollows are areas where the render has detached, partly or fully, from the wall or from the coat beneath it. The surface may appear intact at first, but tapping it lightly with the handle of a tool produces a noticeably hollow sound compared with firmly bonded render.
They are common on older sand and cement render, particularly where weather exposure, movement or moisture has weakened the bond over time. They can also occur on more modern systems if the background was not properly prepared, the wrong materials were used, or water has found a route behind the finish.
A hollow does not always mean the entire elevation needs replacing. However, it does mean the affected material should be assessed honestly. Patching over a loose area is a false economy. The repair will only be as sound as the surface beneath it.
Why external render becomes hollow
The cause is as important as the repair itself. If it is not addressed, even a neat patch can fail again after a wet winter or a period of frost.
Water is one of the most frequent causes. Failed sealant around windows, leaking gutters, damaged coping stones, overflowing downpipes and cracks in the render can allow moisture behind the surface. Once water gets in, repeated freezing and thawing can push the render away from the masonry.
Poor adhesion is another common issue. This can happen where dusty, painted or very smooth backgrounds were rendered without the correct preparation. On older properties, a hard cement render may also be incompatible with softer brickwork or lime-based construction. The wall and render handle moisture differently, increasing the risk of detachment and cracking.
Movement can play a part too. Minor settlement, thermal movement and vibration may cause cracks around doors, windows, extensions and junctions between different materials. If the render has been repaired several times over the years, there may be weak layers hidden beneath a sound-looking top coat.
How to repair render hollows safely
Before starting, check the size and position of the affected area. Render that is loose above a doorway, path or entrance can fall without much warning. Keep people clear, wear eye protection and gloves, and do not work at height without safe access. For upper-storey repairs, extensive areas or anything close to electrical fittings, it is sensible to bring in a rendering specialist.
1. Map the loose render
Tap around the visible defect and mark the hollow area with chalk. Continue beyond the obvious crack or bulge until the tapping sound becomes solid and consistent. Loose render often extends further than expected, so this step prevents a patch being applied onto a weak edge.
Look for the reason the area failed at the same time. Check guttering, downpipes, roof edges, window sills, flashings and any cracks leading into the hollow. If there is an active water problem, fix that first. A new render patch cannot compensate for a leaking gutter above it.
2. Remove all unsound material
Carefully cut back and remove loose render until you reach a firm, well-bonded edge. A club hammer and bolster chisel may be suitable for small repairs, but work steadily rather than striking hard. The goal is to avoid damaging sound render or the masonry underneath.
Do not stop simply because the surface feels firm in one spot. Any render that moves, crumbles easily or sounds hollow should come away. The edges of the repair should be clean and stable, with no friable material left behind.
Once the defective render is removed, brush away dust and debris. If salts, algae or old paint are present, these may need treating or removing so the new coat can bond correctly. The exposed wall should be sound, clean and suitably prepared rather than excessively dry, dusty or saturated.
3. Prepare the background for the right system
This is where many patch repairs go wrong. The replacement material needs to suit both the wall and the existing finish. A traditional sand and cement wall may need a compatible base coat and finish coat. A monocouche rendered elevation should generally be repaired using a compatible monocouche material and colour, although an exact colour match is not always possible after weathering.
Silicone thin coat render is normally part of a system, often applied over a reinforced base coat. If that system is damaged, the repair may involve rebuilding the base layer, embedding reinforcing mesh across the repaired section where required, and then applying the appropriate primer and top coat.
On older solid-wall properties, particularly those built with softer bricks, breathable materials can be the better choice. The correct approach depends on the existing wall construction, exposure to weather and what is already on the property. This is why identifying the render type before buying materials is worthwhile.
4. Rebuild the repair in coats
Dampen an absorbent masonry background lightly if the product instructions call for it. This prevents the wall from drawing water out of fresh render too quickly. Apply the base coat firmly to achieve a good key, then level it so it sits just below the surrounding finished surface if another coat is needed.
For deeper repairs, build the render up in stages rather than applying one overly thick coat. Each coat needs appropriate curing time. Rushing this stage can lead to shrinkage cracking, weak adhesion and a patch that stands proud of the wall.
Where movement or a change of material is involved, reinforcement may be needed. Mesh should be embedded within the base coat, not simply laid on the surface. It can help spread stress across the repair, but it will not solve ongoing structural movement or a wet background.
5. Match the finish as closely as possible
Once the repair coat has cured sufficiently, recreate the surrounding texture. A smooth finish, sponge finish, scraped monocouche surface and silicone thin coat all require different techniques. This is the part homeowners often underestimate: a patch can be structurally sound but still look obvious if its texture, thickness or colour differs from the rest of the wall.
Older coloured render may have faded unevenly, especially on south-facing elevations. A local repair can therefore remain visible even with the correct product. In some cases, repairing the defective areas and applying a compatible finish across the whole elevation gives a more consistent result. It costs more than a small patch, but may be the better long-term choice for a prominent front wall or commercial frontage.
When a local patch is not enough
A few small hollows do not automatically mean complete re-rendering. But larger repairs become less sensible when hollowness is widespread, cracks keep returning, damp is visible indoors, or different layers of old render are failing together.
If more than isolated areas sound hollow, removal and replacement may be the safer route. The same applies where the render is trapping moisture against the wall, where insulation render has been compromised, or where the background masonry needs repair before a new finish can be applied. Re-rendering provides the opportunity to correct drainage details, improve insulation where appropriate and choose a finish that suits the property.
For homes in Greater Manchester and the North West, driving rain and regular freeze-thaw conditions can expose weak details quickly. Sound guttering, well-finished sills and properly sealed junctions are not minor extras. They are part of keeping a rendered wall performing as it should.
Avoid these common repair mistakes
The most costly mistake is applying new render over a hollow section. It may look tidy for a short time, but the original failure remains underneath. Using a very hard repair mortar on a softer wall can also create fresh cracks at the patch edge.
Avoid repairing in freezing conditions, heavy rain or strong direct sun. Fresh render needs controlled curing conditions. Do not paint or seal a repair too soon either, particularly if moisture is still escaping from the wall. Decorative coatings should be breathable and compatible with the render system beneath them.
A careful repair starts with a sound background and ends with the right finish. If there is any doubt about the extent of the hollows or the type of render already in place, an experienced specialist can assess the wall before a minor defect becomes a major exterior repair.
Recent Comments