
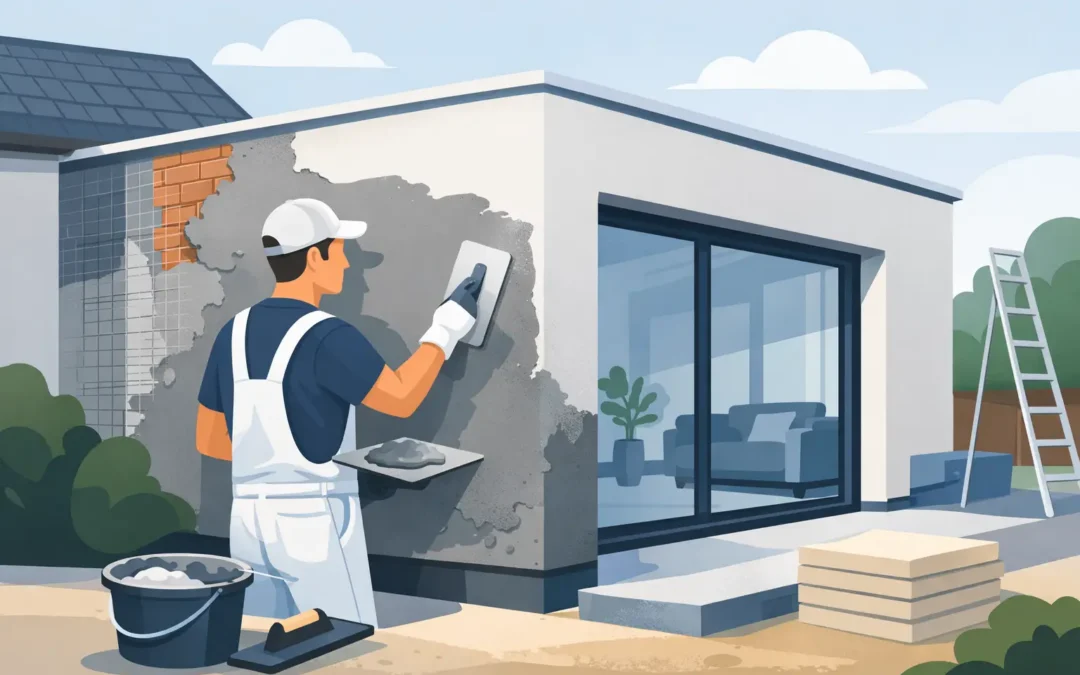
A new extension can look unfinished for far longer than expected if the external walls are left as bare blockwork. Knowing how to render extension walls properly is about far more than applying a smooth coat: the wall needs to be dry, sound, correctly detailed and suited to the chosen render system. Get those foundations right and the finish can protect the building while giving it a clean, modern appearance.
For many homeowners, rendering is the stage that makes an extension feel like part of the original property rather than an obvious add-on. It can also be the point where small preparation errors become visible, so this is work that rewards experience and care.
Check the wall before choosing a render
Most extension walls are built with concrete blocks, but not all blockwork is the same. Dense concrete blocks, lightweight thermal blocks and older masonry each absorb moisture differently and may need a different approach. The wall should be fully built, stable and free from loose mortar, dust, algae, grease and site debris before rendering begins.
Fresh blockwork also needs adequate drying time. Rendering a wall that is still holding construction moisture can lead to shrinkage cracks, staining or poor adhesion later on. There is no single waiting period that suits every job, as weather, block type and mortar all affect drying, but the wall must be sufficiently dry before the system is applied.
Look closely at the details around the extension too. Windows, doors, external lights, waste pipes and roof junctions should be planned before rendering starts. Moving services after the finish has been applied often means drilling through a newly completed façade, which can spoil the appearance and create routes for water to enter.
Choose a system that suits the extension
The right render is not simply a matter of colour or texture. The chosen system needs to work with the background, the exposure of the property and the finish you want to maintain over time.
A traditional sand and cement render remains suitable for some masonry walls. It is durable when mixed and applied correctly, but it generally needs painting once cured and can be less forgiving if the background moves. It is often chosen for repairs or when matching an existing traditional finish.
Modern silicone or acrylic thin-coat render systems are applied over a reinforced basecoat. They offer a consistent coloured finish and are commonly selected for their water resistance, flexibility and lower maintenance requirements. Monocouche render is another popular coloured option. Applied in a thicker coat, it can provide a smart, through-coloured finish without the need for regular external painting.
If the extension needs improved thermal performance, external wall insulation with a render finish may be worth considering. This is a larger project because insulation boards, trims, fixings and junction details all need to be designed as one system. It can be particularly effective where solid walls elsewhere on the property are also being upgraded, but it may alter reveals, roof edges and boundary clearances.
The best choice depends on the wall construction and the result required. A specialist will normally recommend a complete compatible system rather than mixing products from different manufacturers.
How to render extension walls: prepare the background
Preparation is where a reliable render job begins. Any uneven areas in the blockwork should be made good, and deep holes or gaps need filling with a suitable material. Mortar joints should be flush rather than excessively recessed, as pronounced joints may show through a thin render finish.
A suitable primer or bonding coat may be required, particularly on smooth or low-suction backgrounds. Its job is to control suction and give the next coat an even surface to adhere to. Skipping this stage can cause the render to dry too quickly in patches, making it harder to achieve a uniform finish.
Stop beads, corner beads and expansion beads are then fitted where needed. These are not cosmetic extras. Beads produce crisp, straight edges around corners and openings, while movement joints help manage natural movement in larger wall areas or at changes in construction. The exact position of joints should follow the building design and the render system specification.
The render must not bridge the damp-proof course. Leave the correct clearance between the finished render and the ground or paving level so that moisture cannot track up behind the system. This is especially relevant around new patios and driveways, where finished ground levels sometimes end up higher than planned.
Apply the basecoat and reinforcement carefully
For a modern thin-coat system, the first working layer is generally a polymer-modified basecoat. It is applied evenly across the wall, then reinforcing mesh is embedded while the basecoat is still workable. The mesh should be fully covered and overlapped correctly, not simply laid on the surface.
Extra reinforcement is usually needed at vulnerable areas, including the corners of windows and doors. Diagonal mesh pieces at these points help reduce the risk of stress cracks forming from the corners of openings. This is one of those details that may not be visible once the work is complete, but it has a direct effect on how the wall performs.
The basecoat must dry and cure in line with the product specification before the decorative finish is applied. Rushing through coats to finish a job quickly is false economy. Cool, damp North West weather can slow curing, while hot sunshine and wind can make a coat dry too fast. Both conditions need managing with sensible scheduling and protection.
Apply the finish in suitable weather
Rendering should not be carried out in rain, frost, strong wind or very high temperatures. Even when rain is not falling, a cold, saturated wall can affect adhesion and drying. Screens, sheeting and other temporary protection can help, but they do not turn unsuitable weather into suitable conditions.
Once the basecoat is ready, a compatible primer is often applied to create an even background for the topcoat. The coloured finish is then trowelled on at the required thickness and worked to the chosen texture. With silicone and acrylic finishes, keeping a wet edge is essential. Large elevations need enough skilled hands on site to apply the material continuously, otherwise visible joins can appear in changing light.
A monocouche finish follows a different process and may be scraped back after initial setting to create its final texture. Whichever product is used, colour batches should be checked before work begins. Ordering enough material for the complete elevation helps avoid slight variations between batches.
Finish the details, not just the flat wall
A high-quality render finish is judged as much by its edges as by the broad wall areas. Window reveals should be straight and evenly finished, with appropriate beads and seals where the render meets frames. Drips above openings and at projections need to direct water away from the face of the wall.
Pipework, vents and external fittings should be refitted carefully once the render has cured. Avoid over-tightening fixings against the new surface, and use suitable seals around penetrations where required. Any opening through the finished system is a potential weak point if it is left unprotected.
Before handing the job over, inspect the extension from different angles and in natural light. Look for missed areas, uneven texture, visible trowel marks, cracked beads and untidy junctions with brickwork or rooflines. A professional finish should look consistent from the pavement as well as close up.
Common mistakes that shorten render life
The most common problems are avoidable. Rendering onto damp or poorly prepared blockwork can cause adhesion issues. Using unsuitable materials, failing to reinforce around openings or bridging the damp-proof course can create faults that are expensive to put right once the extension is occupied.
Another frequent mistake is treating render as a single product rather than a system. Primers, basecoats, mesh, beads and topcoats are designed to work together. Substituting a cheaper component may save money at the start, but it can compromise the warranty, finish and lifespan of the work.
Finally, do not judge a render job solely by how smooth it looks on day one. Correct drying, clean detailing and proper weather protection are what help it remain attractive after years of rain, frost and changing temperatures.
A rendered extension is a visible investment in the building. If you are unsure which system suits your wall, bringing in a rendering specialist before materials are ordered can prevent costly decisions and give the finished space the solid, well-crafted appearance it deserves.
Recent Comments