
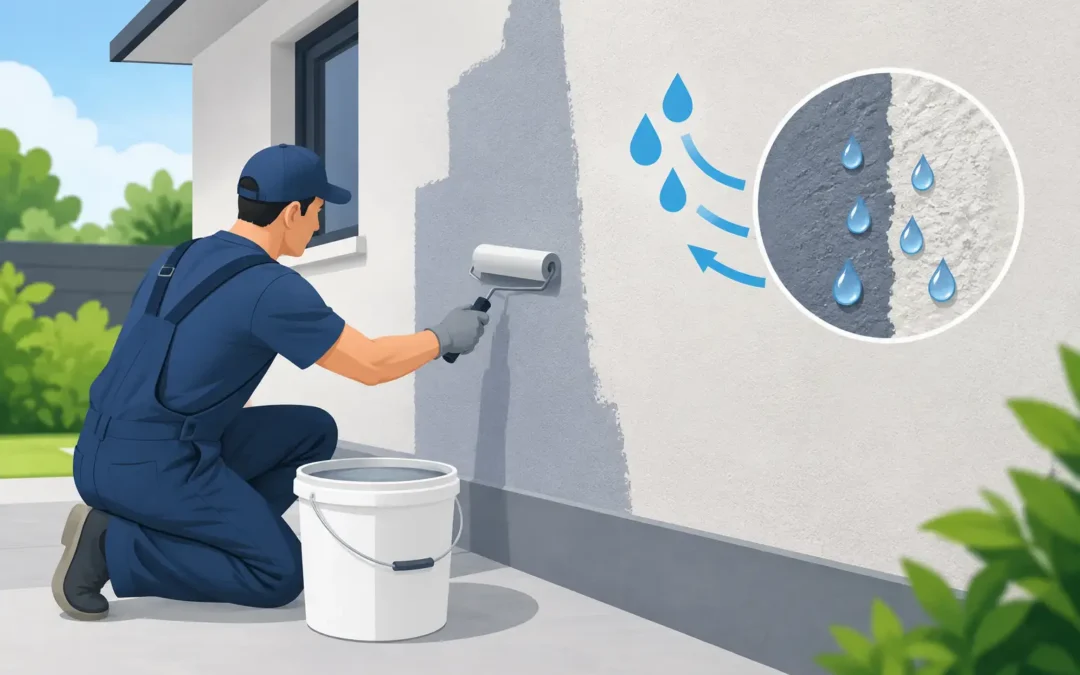
A rendered wall that darkens after rain, shows damp patches indoors or sheds its finish in flakes is not simply an appearance issue. Water may be getting through a crack, around a window, over a failed coping stone or into render that has reached the end of its life. Treating the visible patch alone rarely solves it. Knowing how to waterproof rendered walls starts with finding the route water is taking.
Render is designed to protect masonry, but it is not a substitute for sound details around the building. A well-finished wall should shed rain while allowing normal moisture within the structure to escape. The best repair is therefore one that keeps rain out without trapping damp behind an overly sealed surface.
Check the cause before waterproofing rendered walls
Start by looking at the wall after rainfall, not only when it is dry. A uniform darker shade on porous render can be normal, particularly on older sand and cement finishes. Localised dark patches, however, often point to a defect above or beside them.
Inspect cracks closely. Hairline surface crazing may be cosmetic, but wider cracks can allow rain into the render and masonry behind it. Pay particular attention to corners of windows and doors, joins between an extension and the original house, pipe penetrations, and the bottom edge of the render near ground level.
Also look beyond the rendered area. Broken gutters, overflowing hoppers, leaking downpipes, slipped roof tiles and failed flashing can soak a wall repeatedly. So can damaged window seals, cracked sills and copings with no drip detail. In Greater Manchester and across the North West, frequent wind-driven rain can expose small failures surprisingly quickly, especially on open or west-facing elevations.
Damp at the base of a wall needs a different check. External ground levels, paving, soil and decking should sit well below the damp-proof course. If they bridge it, or cover the lower edge of the render, moisture can be drawn up from the ground. A waterproof coating on the face of the wall will not correct that problem.
Understand what the render needs to do
The word ‘waterproof’ can be misleading. Most external walls benefit from a finish that is water-repellent rather than completely sealed. The aim is to stop rain being absorbed while maintaining vapour permeability, allowing moisture in the wall to dry out naturally.
This matters particularly with solid-wall properties and traditional masonry. A non-breathable paint or thick coating can hold moisture within the wall, leading to blistering, salts, frost damage and peeling paint. It may look effective for one wet season, then create a larger repair bill later.
The right approach depends on the render type, its condition and what sits behind it. Modern coloured render systems, including silicone-based finishes, are commonly designed to repel water while remaining breathable. Older cement render may need repairs and a compatible protective finish. If the wall is badly cracked, hollow or loose, a surface treatment is not enough.
How to waterproof rendered walls in the right order
A lasting result comes from preparation and repair first, followed by a suitable protective treatment. Skipping the early stages is where many waterproofing jobs fail.
1. Repair cracks, loose render and damaged details
Tap suspect sections gently. A hollow sound can indicate that render has lost its bond with the background. Loose or drummy material should be removed and repaired, rather than coated over. The repair needs to match the existing render as closely as possible and be properly cured before any finish is applied.
Cracks should be assessed rather than simply filled. A stable, fine crack may be opened slightly, cleaned and repaired with a compatible flexible filler or repair mortar. Recurrent cracks around openings or building joins can indicate movement. These areas may require reinforcement mesh within a repair system or a proper movement joint, depending on the cause.
Deal with defects at the same time: replace damaged beads, make good around service pipes, repair failed sealant around frames and ensure copings and sills throw water clear of the wall. These small details are often more valuable than applying another coat to the whole elevation.
2. Clean the surface thoroughly
Render must be clean, dry and sound before it is treated. Brush away loose dirt, cobwebs and flaking material. Algae, moss and black staining should be removed with an appropriate exterior biocidal cleaner, following the product instructions and allowing enough time for it to work.
Avoid aggressive pressure washing on tired render. It can drive water into the wall, damage the surface and expose weak patches. A low-pressure rinse may be appropriate once the cleaner has done its job, but allow the wall to dry fully afterwards. In cool or damp conditions, this can take longer than expected.
3. Choose a breathable water-repellent treatment
Where render is structurally sound but absorbs rain, a clear silane or siloxane-based water repellent can be a good option. These treatments penetrate the surface and reduce water uptake without forming a heavy film. The finish usually remains close to its original appearance, although a test area is sensible first.
A clear treatment is not a cure for cracks, failed render or water entering from above. It is best used as a protective measure on sound, porous surfaces. Coverage rates vary by product and by how absorbent the render is, so do not assume one tin will cover the area stated on the label.
For walls that need a fresh colour as well as protection, a high-quality breathable masonry paint or compatible render coating may be more suitable. Choose a system intended for the existing render, and follow its primer and drying requirements. Cheap exterior paint can trap moisture or lose adhesion quickly on a wall that sees regular rain.
4. Apply only in suitable weather
Most exterior coatings require dry weather, a stable temperature and no immediate risk of rain or frost. Painting a wall that still holds moisture is one of the quickest ways to cause blistering or patchy adhesion.
Protect windows, paving, plants and brickwork before starting. Apply evenly, working wet-on-wet where required to avoid lap marks. On highly absorbent render, two coats may be needed. Always use the manufacturer’s stated application method and coverage rate rather than trying to make a treatment stretch further.
When a coating is not the answer
There are occasions when waterproofing should mean replacing or upgrading the render, not adding another finish. If large areas are cracked, blown, crumbling or contaminated by salts, coating may only disguise the issue temporarily.
A full render renovation can provide a cleaner, more reliable answer. This may involve removing failed material, preparing the substrate, installing a suitable basecoat and reinforcement mesh, then applying a modern decorative finish. Silicone or coloured render systems can offer strong weather resistance, reduced maintenance and a sharp, consistent appearance when specified and installed correctly.
Insulation render systems are another consideration where a property has solid walls and feels cold as well as damp. External wall insulation can improve thermal performance and reduce condensation risk, but it must be designed around the property. Roof edges, windows, drainage, vents and ground levels all need careful detailing. It is not a job to treat as a simple cosmetic overcoat.
Common mistakes to avoid
The most common mistake is painting over damp without finding its source. Water then remains behind the coating and continues to damage the wall. Another is applying a non-breathable sealant to old solid-wall construction, where trapped moisture can cause more harm than rain penetration.
It is also wise to avoid filling every crack with a rigid material. Render moves slightly with temperature changes and building movement, so repairs need to suit the location and finish. Finally, do not overlook routine maintenance. Keeping gutters clear and sealant, sills and copings in good condition protects rendered walls far more effectively than waiting for staining to appear.
A practical check before you start
If the wall has only minor surface porosity, no active damp internally and no obvious defects, cleaning and applying a breathable water repellent may be enough. If there are repeated damp patches, cracking, loose areas or failing details around openings, arrange for the wall to be assessed before spending money on coatings.
A careful diagnosis gives you a finish that looks good and continues to protect the property through the wettest months. The aim is not to make a wall airtight or hide a problem under paint, but to restore a sound surface that sheds rain exactly as it should.
Recent Comments